
My first bikepacking adventure was an 80-kilometre ride to Mt Clear Campground, at the southernmost end of the ACT. The plan was simple: ride there on the first day, camp overnight and return home the following day.
What could possibly go wrong?
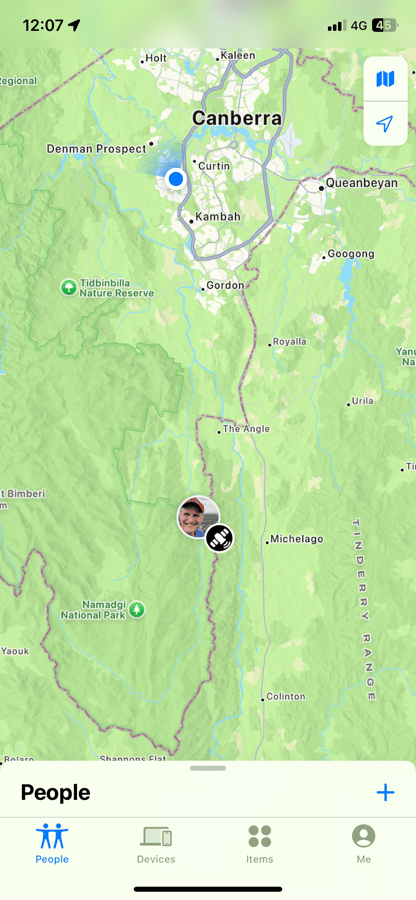
There were two ways to get there. The first was over Fitz’s Hill and Shanahans Mountain along Boboyan Road. The alternative was the Naas Valley Fire Trail, which follows the river through the eucalyptus forest. Naturally, I chose the latter. It sounded more scenic, and besides, who doesn’t enjoy a bit of off-road adventure?
The Naas Valley Fire Trail runs through Namadgi National Park, so access is restricted by a locked gate. I packed the bike, loaded up my camping gear and headed off. By the time I reached the gate, I had already covered 50 kilometres, leaving another 30 to go.
I was enjoying myself. The trail wound its way alongside the river through beautiful eucalyptus forest. It was exactly the sort of remote country I had imagined when planning this adventure.
Then came the first river crossing.
I decided the sensible thing was to remove my shoes and carry my belongings across. It took a little time, but at least I would have dry feet. A small victory, but I’ll take those wherever I can get them.
I hadn’t made it to the second river crossing when disaster struck. My rear tyre went flat.
I was running tubeless tyres, which meant there was sealant inside the tyre to plug small holes. Unfortunately, the sealant was bubbling out of the puncture like a miniature volcano. WTF?
The hole looked small enough. Surely the sealant should have dealt with it.
I grabbed my CO₂ canister and Presta adaptor and attempted to inflate the tyre. Unfortunately, the adaptor decided it didn’t want to cooperate. It was jammed, making it difficult to get air into the tyre. In the process, I managed to waste most of my precious CO₂.
I got back on the bike and rode a little further. Then, you guessed it, flat.
Okay, time for Plan B. I’d carry a spare inner tube and convert the tubeless tyre back to a conventional setup.
Except there was a problem. The tubeless Presta valve was screwed on so tightly that I couldn’t remove it. I had no pliers, no more CO₂ and no pump.
At this point, my options were becoming rather limited. In fact, I had reached the end of my mechanical expertise and equipment.
It looked like my grand adventure was over.
I turned the bike around and began the five-kilometre walk back to the public road. Not quite the cycling adventure I had envisaged. I’d planned to ride 80 kilometres, not walk five kilometres pushing a very expensive bicycle.
Fortunately, a park ranger came along and took pity on me. He kindly loaded me and my bike into his vehicle and drove me home.
So much for my first overnight bikepacking adventure. I hadn’t even reached the campground, and I was already organising a rescue.
What did I learn?
As disappointing as the experience was, it turned out to be a valuable lesson in preparation. Apparently, owning expensive equipment doesn’t automatically make you competent at using it.
● Tyres: The factory-fitted 40mm tyres weren’t ideal for the rough terrain, particularly with the extra weight of camping gear. I upgraded to a pair of 50mm Pirelli tyres, hoping the wider rubber would cope better. Cost: $240.
● Inflation: Running out of CO₂ was a problem. I bought additional CO₂ canisters and a small, lightweight electric pump. At least I wouldn’t have to rely on a tiny gas cartridge to save the day again. Cost: $120.
● Tools: I added a small set of pliers to my equipment list. Apparently, being unable to remove a valve can bring an entire adventure to a rather embarrassing halt.
Weight distribution: When I was pushing the bike, I had most of the weight at the rear. So the front kept popping up.


Leave a Reply